

So I guess like a lot of people, the standard neck line on modern t-shirts (you know, the unisex or male sizes, not the ones cut cute for girls that they charge extra for), those neck lines aren't always how I want fabric on my skin during the day. So I got this red t-shirt at the thrift store a few weeks back and it had a cut neckline and I thought, I don't know if I can wear that... I mean it seems a little bit risque. But it has become a wonderful sleeping shirt and I thought with some adjustments, I could turn it into something, a way to alter some of my current wardrobe to make it more "me".
And here is my process:
First, lay out the shirt you are copying from and take some measurements.

Although this thrifted shirt did not have a tag in it, compared to my other t-shirts, I'm guessing it was once a size medium. The shirts I'm choosing to alter in this tutorial are both unisex-adult large. So I measured and put pins where I want the cut neckline to start. I have average to narrow shoulders on my 5 and 1/2 foot frame and I don't always wear a bra but I still wanted it to sit comfortably on my body after I cut off the original neckline..

Then I measured how far down I wanted to cut it. On the white t-shirt, I did have print pretty high up on the chest so that limited my ability to give a scoop neckline, which I think is my preferred. But I made a pin where I wanted it to be roughly following the guideline of original.
Next step is to mark a cutting line. In my new sewing space (!!!) I have already brought over a whole bunch of notions but I did not have a water-soluble marking pen so being is this was going to be a make-do upcycle. I marked my line with a regular mechanical pencil-- I used a spool of thread to give me the same distance around the original neckline, which you don't have to do at all if you don't want to follow that curve, but first I drew that line and then without cutting anything I moved on to the sewing step.
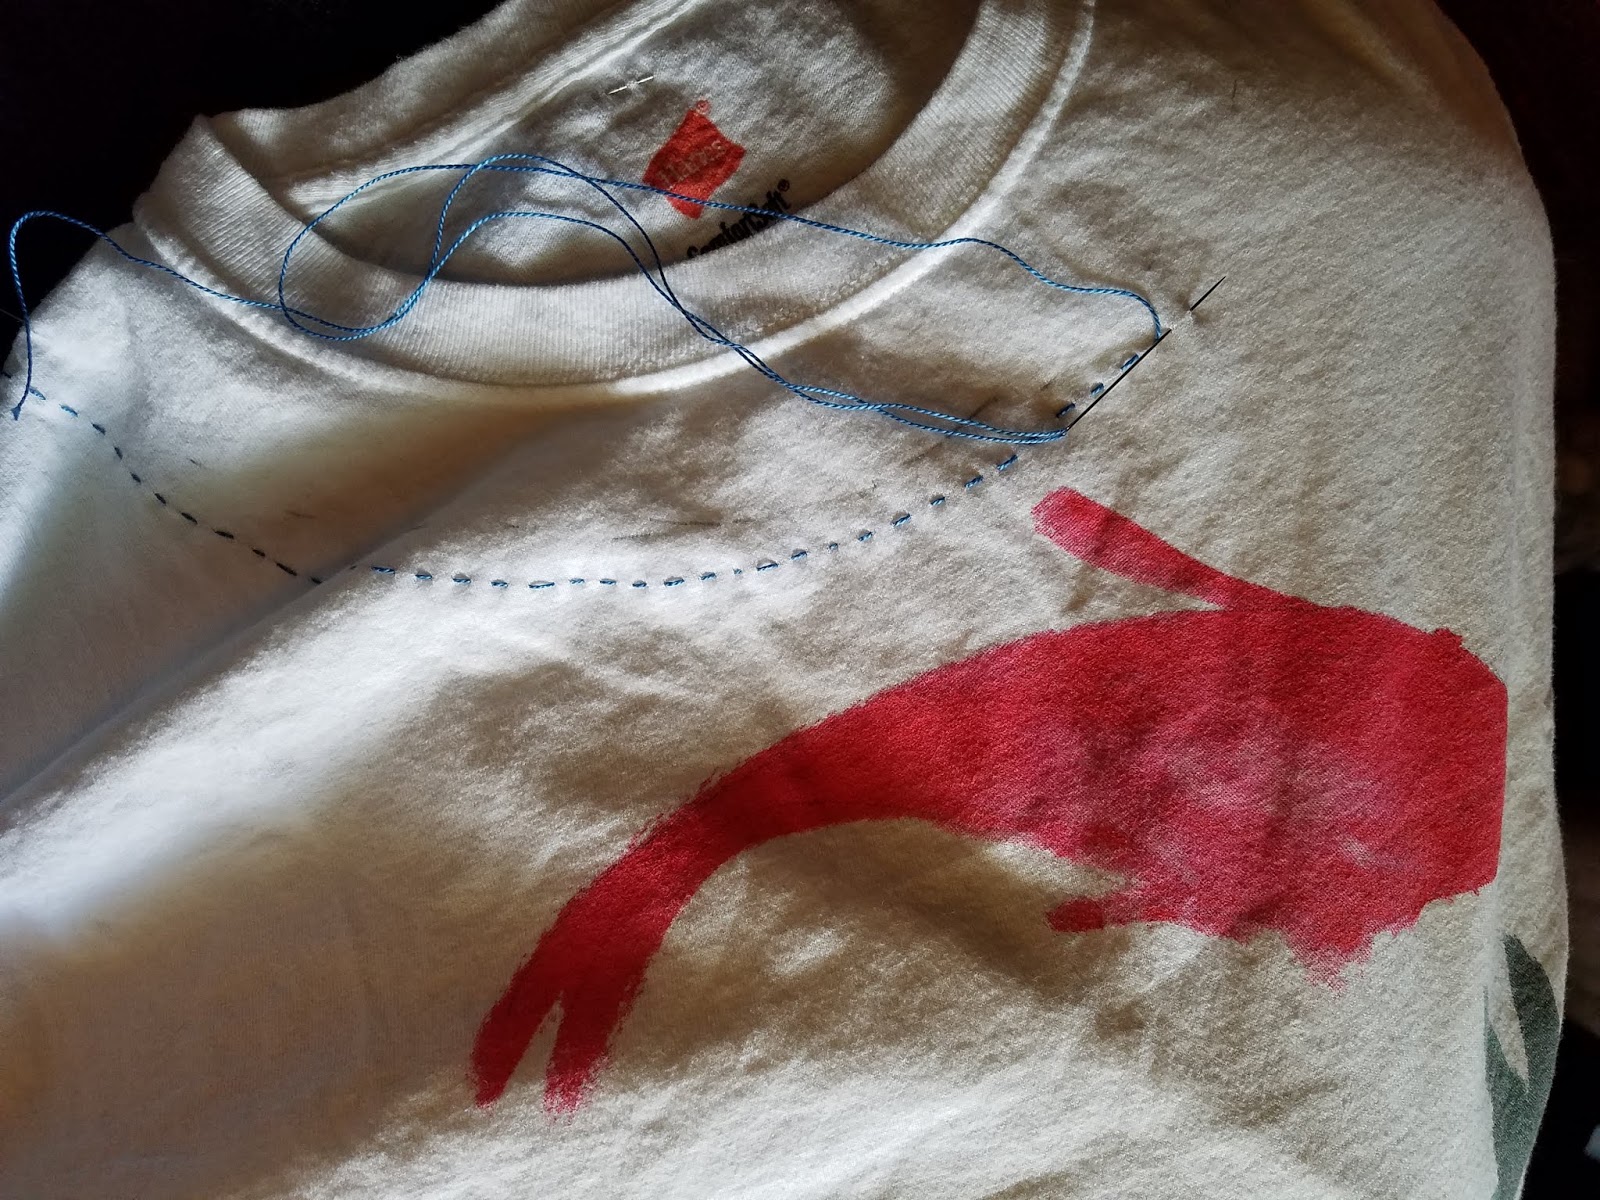
Using Pearl cotton number 8 and taking a piece of thread maybe 6 in longer than the line I want to stitch, I buried the knotted end in the seam allowance of the t-shirt and then just did a running stitch maybe quarter inch lower than my cutting line-- only on the front-- seam to seam. I then buried the thread in the other seam allowance. I repeated that two more times and then, using my fabric scissors, I cut along the cutting line on the front of the shirt. On the back of the shirt I cut just underneath the neckline and along the original seam so it's more of a straight cut across the back.

I was so excited to take a picture and see how I fit on my body, I just threw the shirt on I did not wash it so I don't know how the stitches will hold up. Based on experience with other raw edge jersey knit, I do think it's going to roll a bit after I wash it but I think that'll be fine with me. On the next one, I might want to adjust the neckline a little bit more so it covers more of my shoulders. I definitely want to play around with a squared off or scoop neckline on future t-shirts so that gives me a lot to do in summer. The whole project start to finish took less than an hour. So I highly encourage you to pull out a t-shirt you have not worn in a while and give it a try. Then you can see how you like it before you try it on one of your favorite t-shirts. If you do it, please let me know!! send pictures here in the comments or find me on Instagram (@jessica_alex) and send me a private message there because I'm really curious to see if this works for anybody else.


